The Ultimate Guide to Garage Door Panel Replacement
The Ultimate Guide to Garage Door Panel Replacement
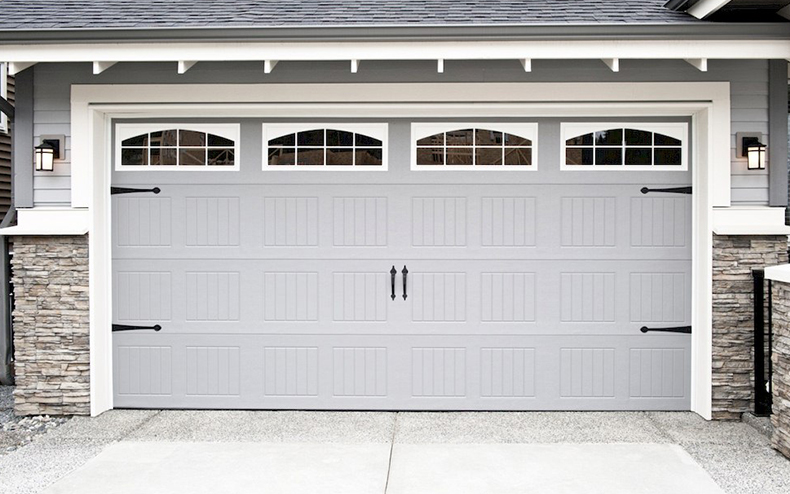
Is your garage door panels looking old or damaged by an accident or the weather? If yes, you’ve come to the right place! This is a common procedure for homeowners, and in this guide, we’ll walk you through the process step-by-step so you achieve a professional result. At DoorMaster, we aim to make your garage door panel replacement a seamless task, and we are here to offer you the complete guide.
When to Consider Garage Door Panel Replacement
Garage door panels can wear out over time from factors such as bad weather, a vehicle bump, or just age. When the panels are damaged or start to wear, it not only detracts from the appearance of your home, but it also reduces the security and insulation of your garage. This is where replacement becomes a necessity to keep your garage door functioning and looking good.
Assess the damage: Before jumping into a replacement process, it’s important to assess the damage. Is it a small dent, a crack, or major structural damage? Depending on the extent of the damage, you may fix the damage or replace the whole panel. Let our experts guide you to the best choice.
Get Your Materials: Make sure you have the tools and materials set for successful garage door panel replacement We will take you through the most important things you will need to do to make sure you are prepared for when you get started.
Step 1: Removing the Old Panel Removing the damaged panel can be a delicate step. We’ll detail the minute details of how to remove an old panel in a safe, efficient manner without causing any further damage to your garage door.
Replacement Rock Panel: Choosing the right replacement rock panel is very important. We’ll talk through the options; materials like steel, wood and aluminum; styles and finishes to fit the look of your home.
Installing the New Panel: Once we dispose of your old panel and have your new one ready to install, you can follow our step-by-step guide on this stage of the process. Follow our detailed guide to make sure they fit correctly and are attached securely.
Finishing Touches: Once your garage door panels have been replaced, we will ensure that all the final touches win for painting, sealing, ensuring that the panel is functional, etc.
Writing Tips and Common Pitfalls
We’ll offer pearls of wisdom throughout this guide, and point out the pitfalls to avoid every step of the way — so that your project is a roaring success.
Damaged or worn garage door panels can hurt both the appearance and functionality of your home. Thank you for reading the DoorMaster Ultimate Guide to Garage Door Panel Replacement — you can now take on this project like a pro! Wave farewell to all those ugly dents and damage and say hello to a lovely and fully functional garage door.
Ready to get started? We are going to make your garage door look and work just like new!


